


`


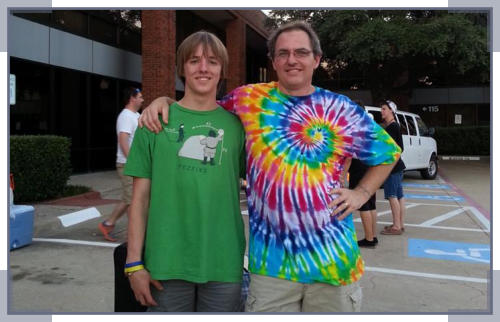
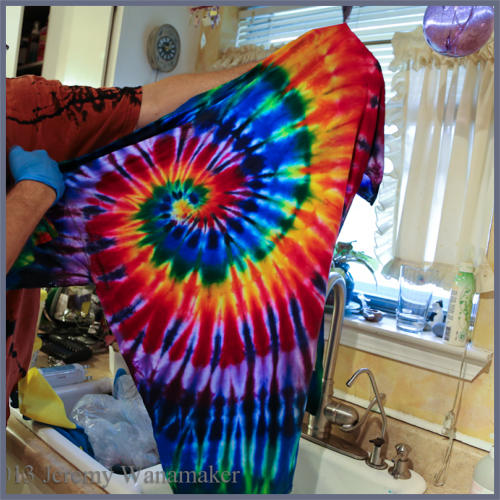
The marvelous spiral


The more I learn, the more I realize I do not yet know. The
hard part is finding new ways to apply what I have.
Starting with a “Twist it up” instruction is fine, but there are
many nuances that can affect the outcome. Don’t get lost in the
search for perfection, trying to apply every “trick” every time.


When twisting the spiral, there are many
techniques that can produce different results.
Here you will find some of the items I use
most often.
Be sure to see the beginning spiral guide
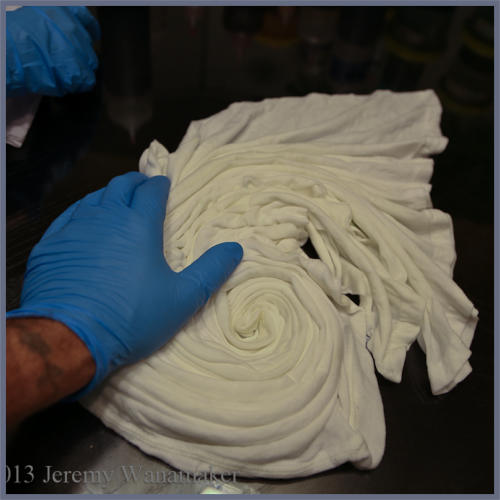
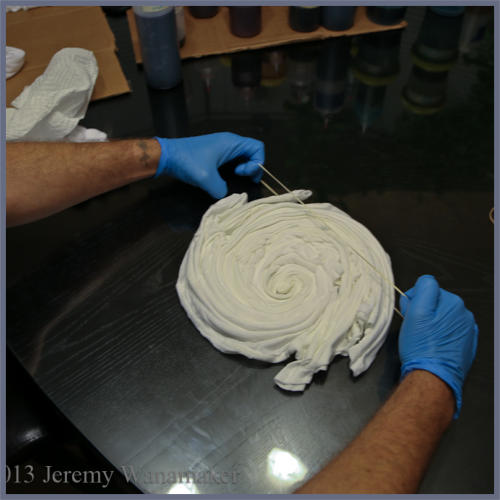
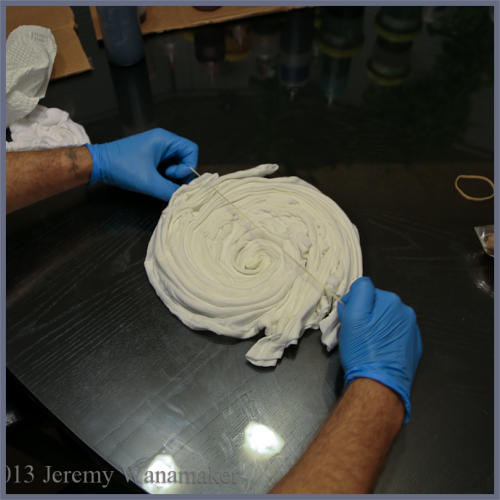
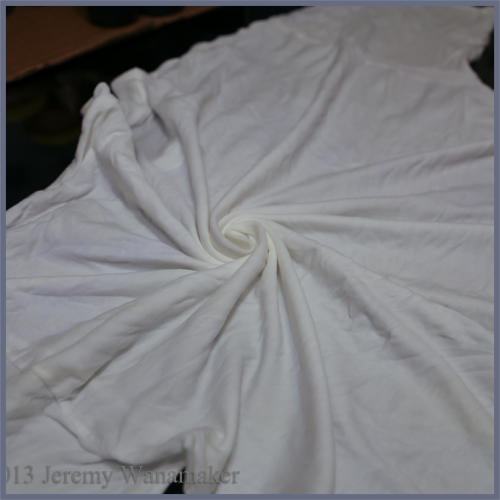
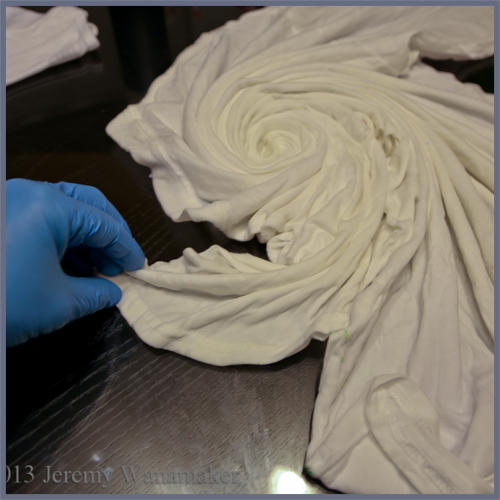
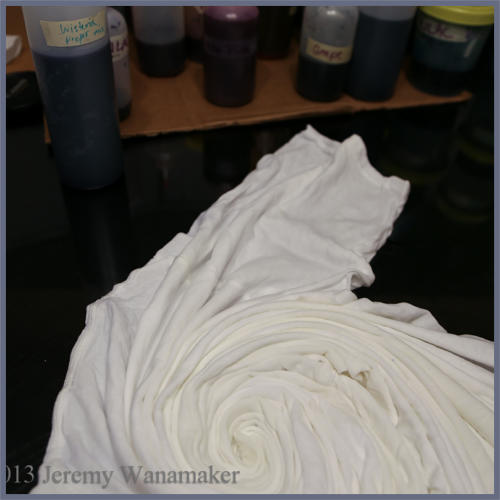
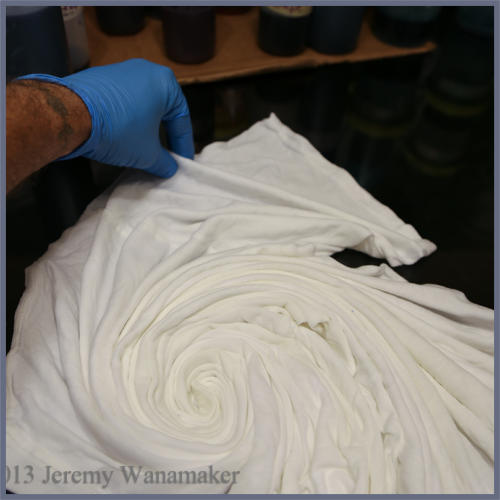
I start by taking my freshly wrung, soda-soaked T-
shirt and stretching it side to side and top to bottom
to recover from the wringing process and then lay it
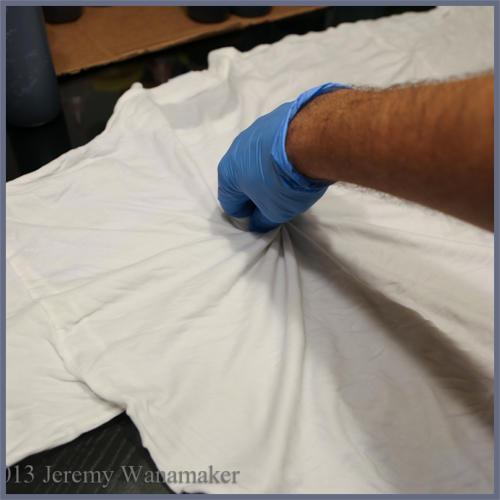
out flat on my work space. I often select a center for
my spiral that is slightly off-center and pinch a little
material. Be sure to get both layers of the shirt and
not just the top.
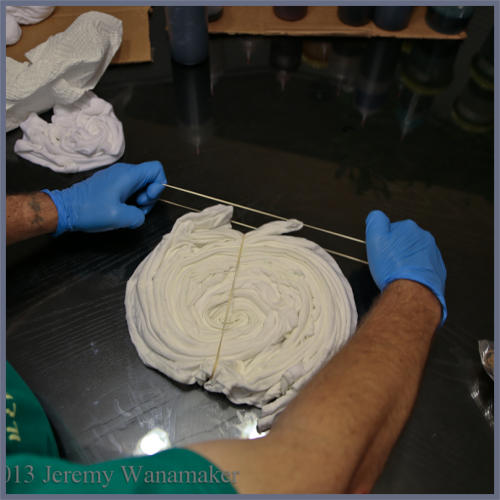
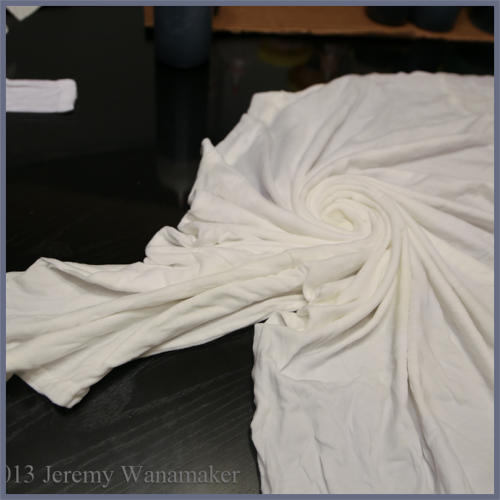
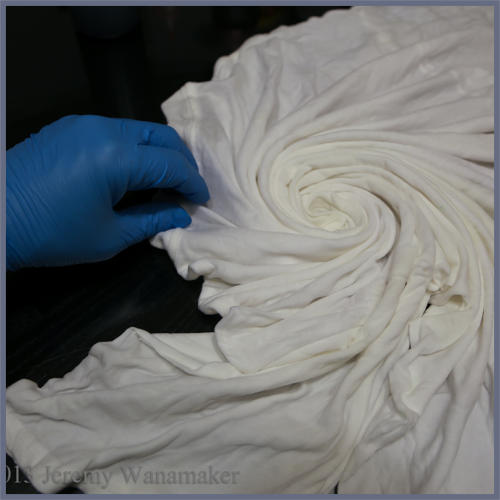
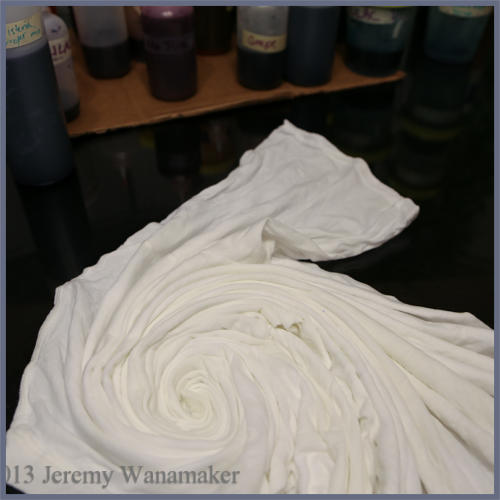
If you twist clockwise, the arms of the spiral will grow
in the same direction. I twisted this one counter-
clockwise and as you can see in the last picture on
the page, the arms grow in a counter-clockwise
direction.
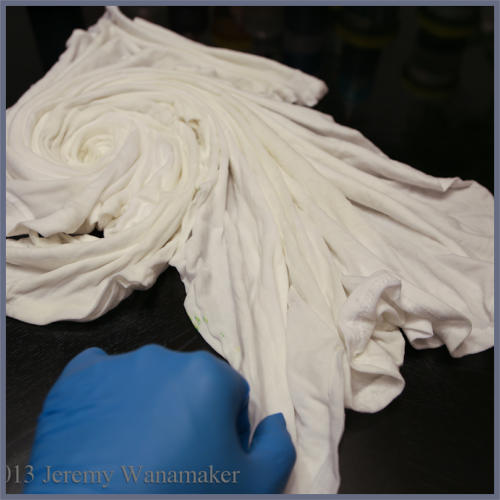
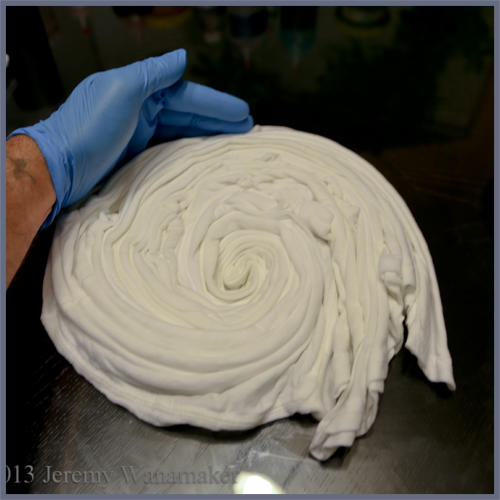
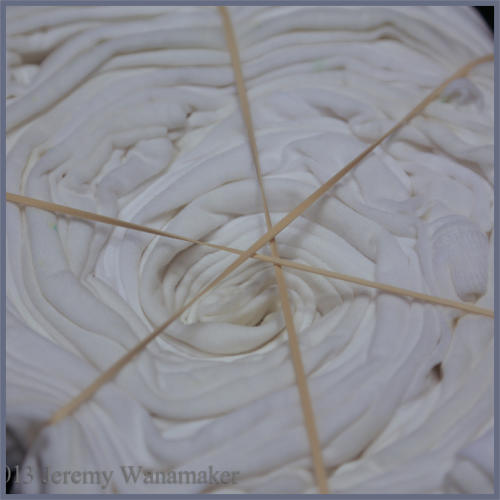
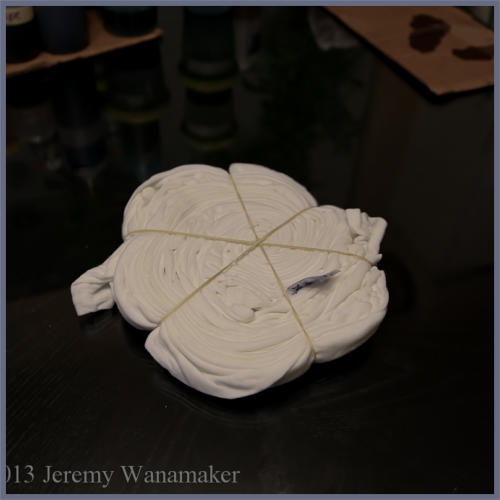
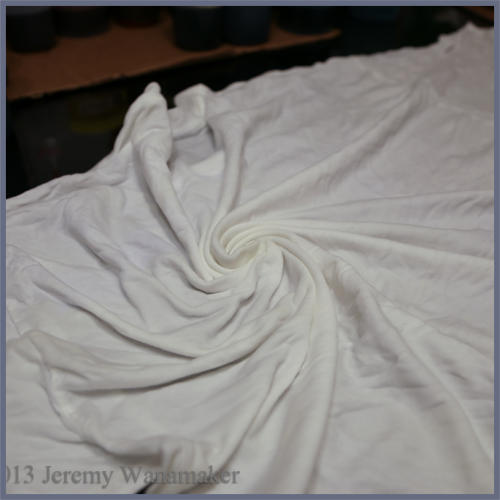
You can see the pleats radiating from the center
outward. Don’t be afraid to let go and even things
out, but you may, also, prefer to just let things work
as they will. The results may be slightly different,
but try it both ways, as neither is “better.”
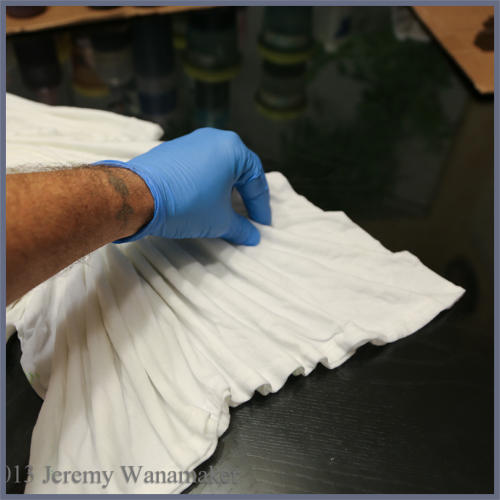
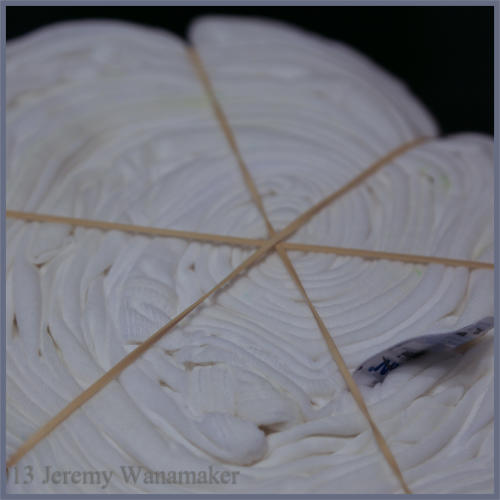
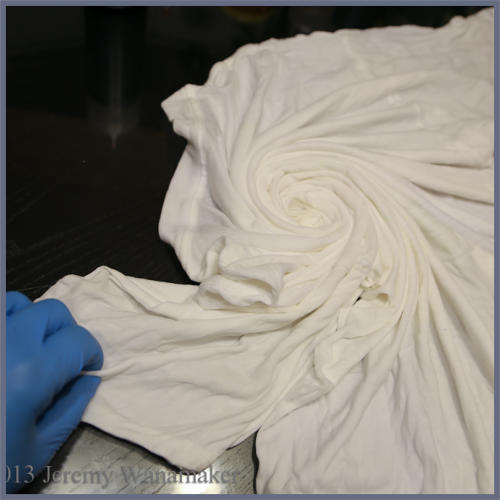
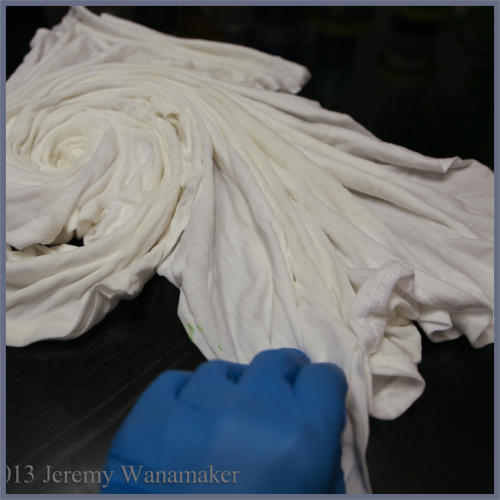
As you twist, pleats will form naturally. Try to
maintain an even size. You may find that dye
application is easier if you make the center of the
pleats a little larger than they occur naturally, since
they tend to get bigger further from the center. I
pinch the pleats into place if some are unusually
larger or split or have other irregularities.
Funky splits or crinkles will show up the final design.
With some colors this can result in great points of
interest, but when overdying with black, they can be
a distraction. Only you will notice, so spend as
much or little time as you like.
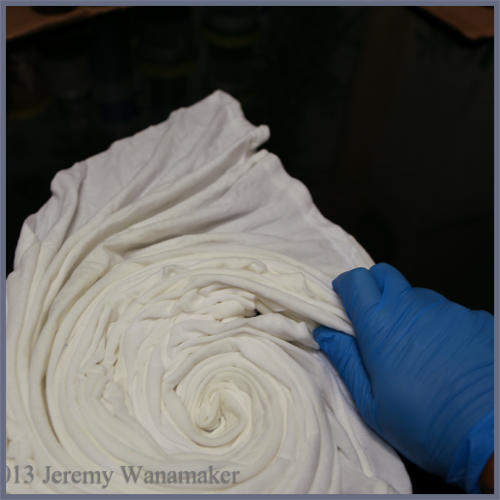
Don’t be afraid to pull on the ends of the pleats to
even them out. They will try to get taller if left to do
as they will. Wider pleats can be used to accent the
bleeding patterns of dyes that have varied bleed
lengths. Reds or oranges may be fringed with
yellow, and purple is often fringed in blue.
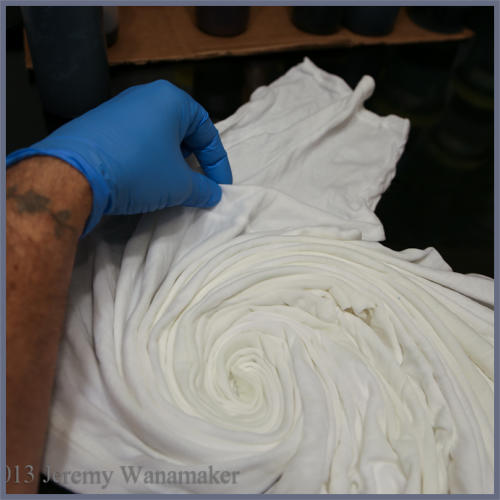
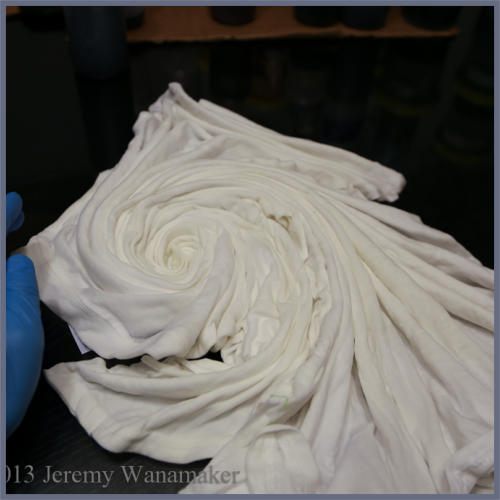
I like to even the pleats out. As your individual
techniqe develops, you may find you have a
prefence. In any event, my experience is that I am
most impressed with regular patters
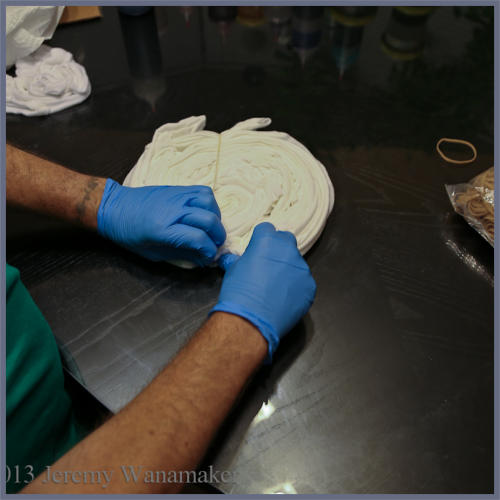
After pressing the tall pleats down, there may be
wide flat areas between pleats. You can force new
pleats to form with some pinching.
If you pinch new pleats, pull them out to the edge of
the materal. You might try splitting an existing pleat
or working with a newly formed pleat.
This page is a work in progress. 07/29/2013
Check back tomorrow or the next day for
explanations of the pictures. Follow the left column
down, first, then the second column.

The Marvelous Spiral


Enim ipsum irure ea nulla
id.
Dolore in commodo.
Pariatur ullamco labore sit
voluptate.


Enim ipsum irure ea nulla
id.


Dolore in commodo.
Pariatur ullamco labore sit
voluptate.
Enim ipsum irure ea nulla
id.

Dolore in commodo.
Pariatur ullamco labore sit
voluptate.
Enim ipsum irure ea nulla
id.
Dolore in commodo.
Pariatur ullamco labore sit
voluptate.
Enim ipsum irure ea nulla
id.
Dolore in commodo.
Pariatur ullamco labore sit
voluptate.


Stop and look at the pleats
Beign to twist the direction
you want the arms to grow.
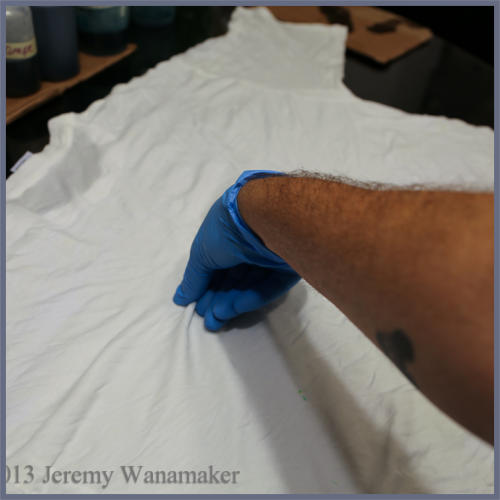
Pinch you shirt, making
sure to get all layers.


You can pull the pleats to
help bring them under
control.
notice the broken or uneven
pleats.
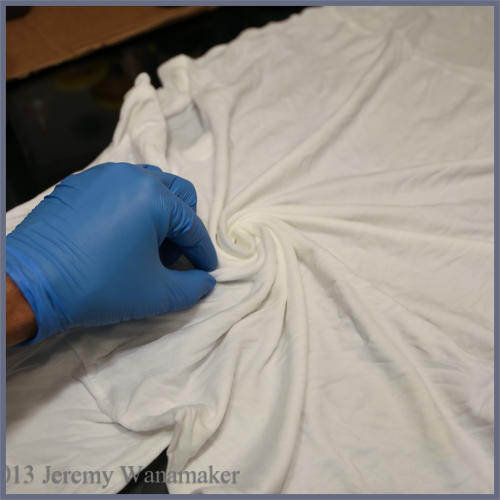
Massage the pleats into a
uniform size
create intermediate pleats
to fill wide spaces3
even up the pleats
even near the edge, my
pleats are about the same
size.
Enim ipsum irure ea nulla
id.
Dolore in commodo.
Pariatur ullamco labore sit
voluptate.
Enim ipsum irure ea nulla
id.
Dolore in commodo.
Pariatur ullamco labore sit
voluptate.